

Keeping Your Bathroom Mirror Heaters Safe (and Dry)
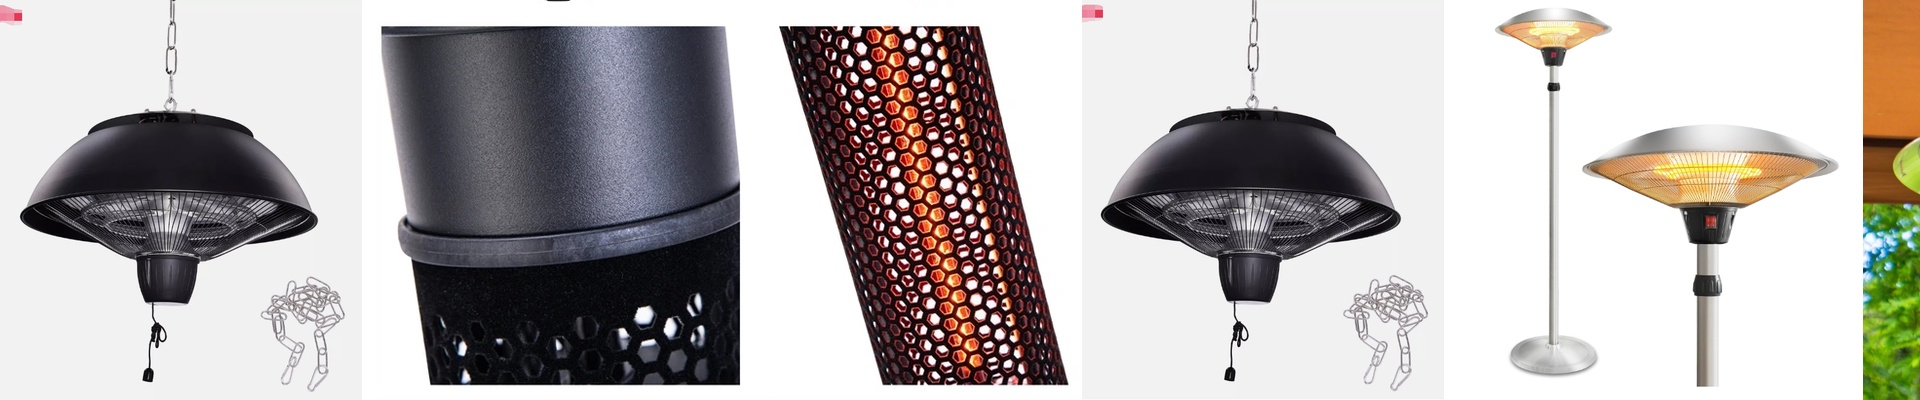
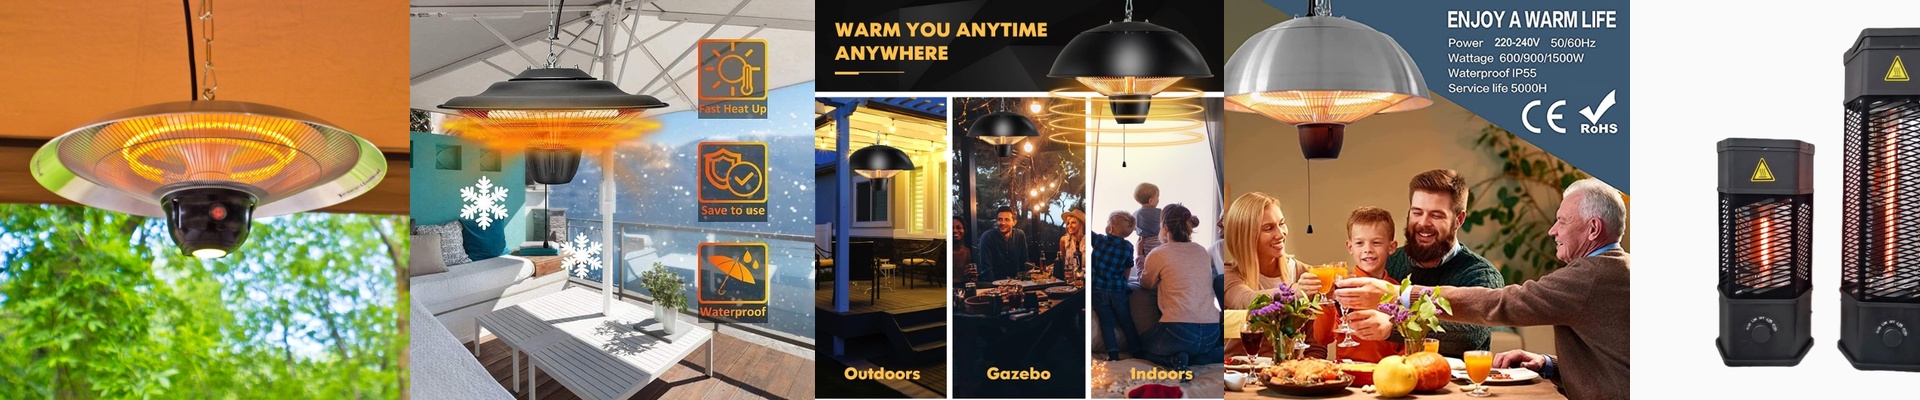
Putting infrared heating lamps behind a bathroom mirror sounds simple, but the reality is a bit messier. You’re dealing with steam, splashes, and high humidity. In that kind of environment, standard electrical setups aren’t just risky—they’re a liability. To get the insulation right, we have to focus on the materials and, more importantly, how we seal everything off. The battle against moisture Here’s the thing: water vapor loves to mess with electrical resistance. If you use cheap insulators, the moisture eventually finds a way in, creates a path for the current, and—boom—you’ve got a ground fault. To stop that from happening, we stick with high-purity quartz envelopes and specific ceramic insulators. They’re built to handle voltage spikes without arcing, even when the room feels like a sauna. Where things usually go wrong Most failures happen at the connection point—where the lead wires hit the heating element. It’s the weakest link. We fix this by using hermetic seals and moisture-resistant potting compounds. Basically, we lock the humidity out so water can’t “creep” into the lamp base. And please, don’t use standard PVC wire. It just can’t handle the constant cycle of heat and steam. Go with cross-linked polyethylene (XLPE) or silicone. It stays flexible and doesn’t degrade when things get hot. The tricky part: Space There is a trade-off here. Better insulation usually means a bulkier heater. Those heavy-duty bases and thick potting compounds take up real estate behind the glass. You have to be careful not to cram everything in too tight. If there’s no room for the heat to move, you get “heat soak,” which can actually crack the mirror backing over time. A good rule of thumb? Leave a gap of at least 3mm between the heater housing and the glass. It gives the system room to breathe and keeps your mirror intact.